Blog / Styling EmberJS active links using Tailwind variants
Out of the box, the Enber router adds an .active class to any link that points to a currently active route. That’s pretty convenient if you want to give them a style.
That said, when using Tailwind you don’t have any clean way to add styling to those active links.
Using @apply
You might be tempted to define a class and use an @apply rule to add the styles you want to any link with an .active class:
.active {
  @apply text-green-600;
}
That works but goes against the utility approach of Tailwind. It also makes it difficult to style active links differently according to their location.
Using a custom variant
A better way to achieve this and keep all that’s good in Tailwind is to define a custom variant. To do so, open your tailwind.config.js file and add the following:
const plugin = require('tailwindcss/plugin');

module.exports = {
  plugins: [
    plugin(function({ addVariant, e }) {
      addVariant('active-link', ({ modifySelectors, separator }) => {
        modifySelectors(({ className }) => `.${e(`active-link${separator}${className}`)}.active`);
      });
    })
  ],

  // rest of your config…
};
What this does is create a new active-link variant that will be activated as soon as the target element has the .active class applied.
BUT… this variant cannot be used if you don’t enable it first:
const plugin = require('tailwindcss/plugin');

module.exports = {
  plugins: [
    plugin(function({ addVariant, e }) {
      addVariant('active-link', ({ modifySelectors, separator }) => {
        modifySelectors(({ className }) => `.${e(`active-link${separator}${className}`)}.active`);
      });
    })
  ],

  variants: {
    textColor: ['responsive', 'hover', 'focus', 'active-link']
  },

  // rest of your config…
};
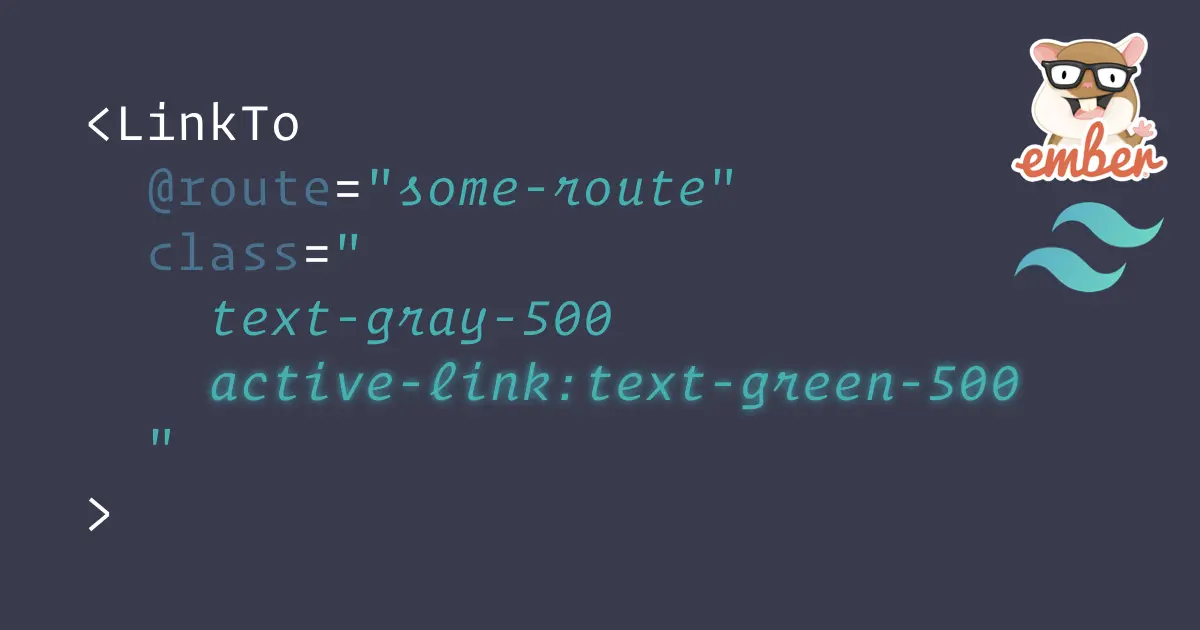
Now you can style the color of your active links the way you’re used to with Tailwind:
<LinkTo @route="some-route" class="text-gray-500 active-link:text-green-600" />
Resources
Your can learn more on this subject in the Tailwind documentation on Creating custom variants.
Update June 17, 2020
If you’re leveraging the recent built-in PurgeCSS support, the classes generated for your variant may be removed when building for production. This is due to the absence of the active class in the codebase since it’s only added at runtime.
To work around this issue, add it to your purge settings:
const plugin = require('tailwindcss/plugin');

module.exports = {
  plugins: [
    plugin(function({ addVariant, e }) {
      addVariant('active-link', ({ modifySelectors, separator }) => {
        modifySelectors(({ className }) => `.${e(`active-link${separator}${className}`)}.active`);
      });
    })
  ],

  purge: {
    content: [
      'app/**/*.hbs',
      'app/**/*.js'
    ],

    options: {
      whitelist: ['active']
    }
  },

  variants: {
    textColor: ['responsive', 'hover', 'focus', 'active-link']
  },

  // rest of your config…
};
This will ensure your classes are kept in the final output.
